Toolbar Flags Reference
In-depth reference for configuring Vercel Toolbar's feature flag supportFeature flags have three main concepts: flag definitions, flag values, and the API Endpoint. Before supporting feature flag overrides, you should familiarise yourself these concepts.
If you set either a feature flag's value or definition, the Vercel Toolbar will display that flag.
Flag definitions are metadata for your feature flags, which communicate:
- Name
- URL for where your team can manage the flag
- Description
- Possible values and their (optional) labels
A definition can never communicate the value of a flag as they load independently from flag values. See flag definitions for more information.
{
"bannerFlag": {
"origin": "https://example.com/flag/bannerFlag",
"description": "Determines whether the banner is shown",
"options": [
{ "value": true, "label": "on" },
{ "value": false, "label": "off" }
]
}
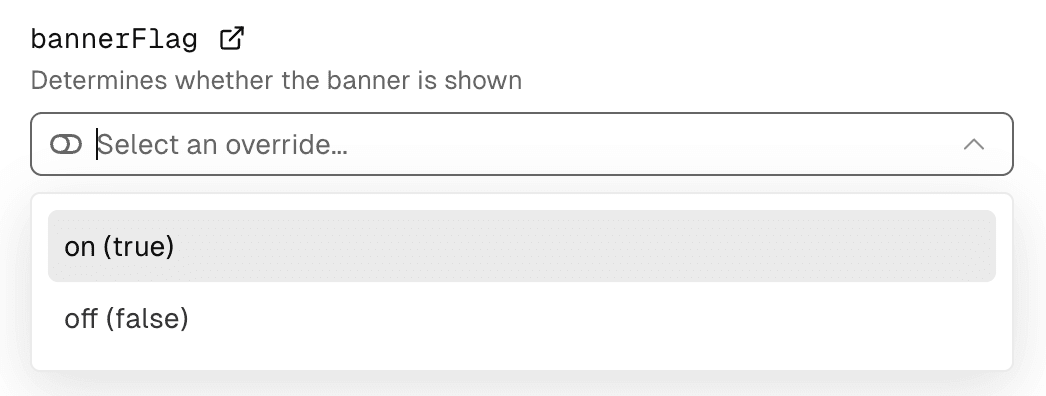
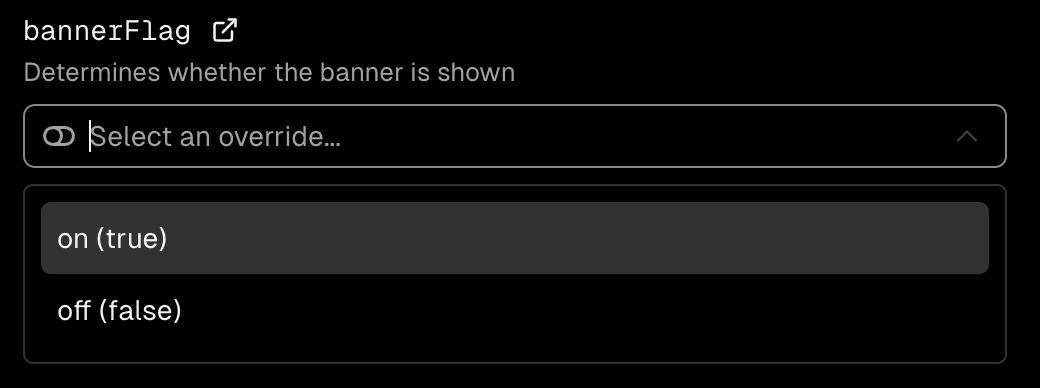
}This is how Vercel Toolbar shows flag definitions:
We strongly recommend communicating your feature flag definitions through the Flags API Endpoint. In rare cases, it can be useful to communicate feature flag definitions through the HTML response. Vercel Toolbar will pick up any script tags included in the DOM which have a data-flag-definitions attribute.
If you are using React or Next.js, use the FlagsDefinitions component. If you are using another framework or no framework at all you can render these script tags manually. The expected shape is:
type FlagDefinitionsType = Record<
  string,
  {
    options?: {
      value: any;
      label?: string;
    }[];
    origin?: string;
    description?: string;
  }
>;
This example shows how to communicate a feature flag definition through the DOM:
<script type="application/json" data-flag-definitions>
  {
    "showBanner": {
      "description": "Shows or hide the banner",
      "origin": "https://example.com/showBanner",
      "options": [
        { "value": false, "label": "Hide" },
        { "value": true, "label": "Show" }
      ]
    }
  }
</script>
You can also encrypt the definitions before emitting them to prevent leaking your feature flags through the DOM.
import { safeJsonStringify } from '@vercel/flags';

<script type="application/json" data-flag-definitions>
  ${safeJsonStringify(definitions)}
</script>;
Using JSON.stringify within script tags leads to XSS
vulnerabilities. Use
safeJsonStringify exported by @vercel/flags to stringify safely.
This is the actual value that a feature flag resolves to by default and is displayed on the Feature Flags overview from the Toolbar. Any JSON-serializable values are supported. Vercel Toolbar combines these values with any definitions, if they are present.
See Flag Values for detailed explanations.
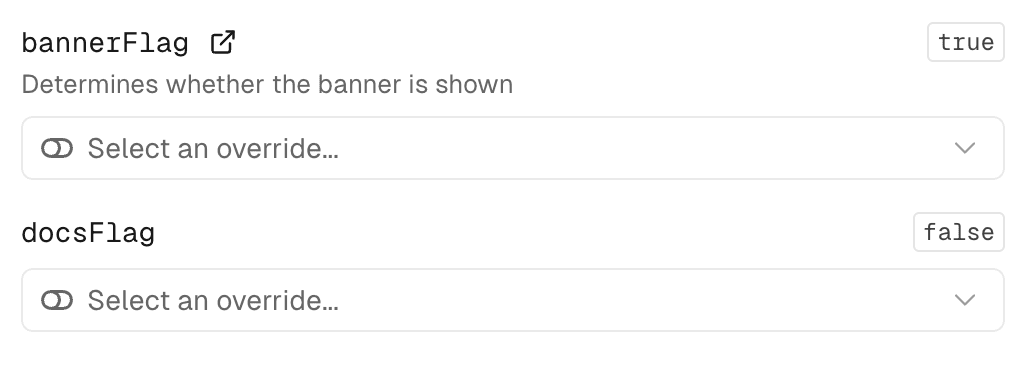
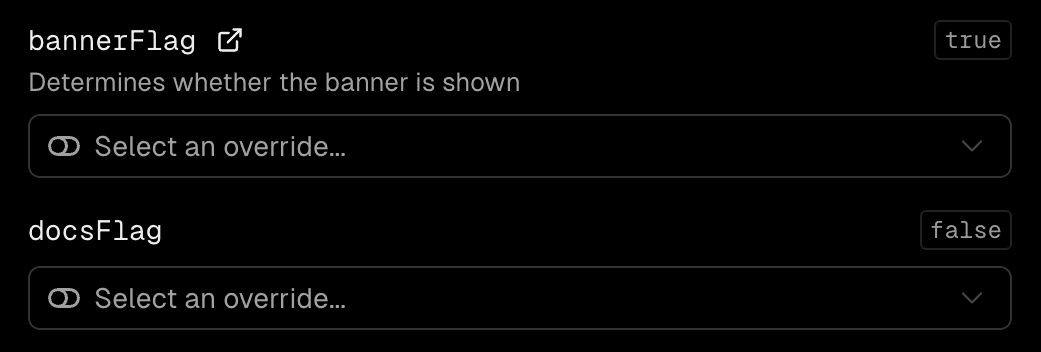
{ "bannerFlag": true, "docsFlag": false }This is how Vercel Toolbar shows flag values:
Your Flags API Endpoint should return information about your application's feature flags like their key, description, origin, and available options.However the Flags API Endpoint can not return the value a flag evaluated to, since this value might depend on the request which rendered the page initially.
The requested page can embed script tags to communicate the value of each flag used to render it.
If you are using React or Next.js, use the FlagValues component.
import { FlagValues } from '@vercel/flags/react';

export function Page() {
  return (
    <div>
      {/* Some other content */}
      <FlagValues values={{ exampleFlag: true }} />
    </div>
  );
}
If you are using another framework or no framework at all you can render these script tags manually. The expected shape is:
type FlagValues = Record<string, any>;This example shows how to communicate a feature flag values manually through the DOM:
<script type="application/json" data-flag-definitions>
  {
    "showBanner": true,
    "showAds": false,
    "pricing": 5
  }
</script>
Using JSON.stringify within script tags leads to XSS
vulnerabilities. Use
safeJsonStringify exported by @vercel/flags to stringify safely.
Vercel Toolbar will combine these values with the definitions returned through the Flags API Endpoint.
When you have set the FLAGS_SECRET environment variable in your project, Vercel Toolbar will request your application's /.well-known/vercel/flags endpoint. This endpoint should return a configuration for the toolbar that includes the flag definitions.
This secret gates access to the Flags API endpoint, and optionally enables signing and encrypting feature flag overrides set by Vercel Toolbar. As described below, you can ensure that the request is authenticated in your Flags API endpoint, by using verifyAccess.
The FLAGS_SECRET value must have a specific length (32 random bytes encoded in base64) to work as an encryption key. You can create one using node:
node -e "console.log(crypto.randomBytes(32).toString('base64url'))"In your local environment, pull your environment variables with vercel env pull to make them available to your project.
Adding the environment variable locally is not enough. Vercel Toolbar reads it from your project settings in the Vercel dashboard.
Your endpoint should call verifyAccess to ensure the request to load flags originates from Vercel Toolbar. This call checks that Authorization header Vercel Toolbar sends contains proof that whoever made this request has access to FLAGS_SECRET. The secret itself is not sent over the network.
If the verifyAccess check fails, you should return status code 401 and no response body. When the verifyAccess check is successful, return the feature flag definitions and other configuration as JSON:
import { NextResponse, type NextRequest } from 'next/server';
import { verifyAccess, type ApiData } from '@vercel/flags';

export async function GET(request: NextRequest) {
  const access = await verifyAccess(request.headers.get('Authorization'));
  if (!access) return NextResponse.json(null, { status: 401 });

  return NextResponse.json<ApiData>({
    definitions: {
      newFeature: {
        description: 'Controls whether the new feature is visible',
        origin: 'https://example.com/#new-feature',
        options: [
          { value: false, label: 'Off' },
          { value: true, label: 'On' },
        ],
      },
    },
  });
}The JSON response must have the following shape
type ApiData = {
  definitions: Record<
    string,
    {
      description?: string;
      origin?: string;
      options?: { value: any; label?: string }[];
    }
  >;
  hints?: { key: string; text: string }[];
  overrideEncryptionMode?: 'plaintext' | 'encrypted';
};These are your application's feature flags. You can return the following data for each definition:
| Property | Type | Description |
|---|---|---|
description (optional) | string | A description of what this feature flag is for. |
origin (optional) | string | The URL where feature flag is managed. This usually points to the flag details page in your feature flag provider. |
options (optional) | { value: any, label?: string }[] | An array of options. These options will be available as overrides in Vercel Toolbar. |
You can optionally tell Vercel Toolbar about the actual value flags resolved to. The Flags API Endpoint cannot return this as the value might differ for each request. See Flag values instead.
In some cases you might need to fetch your feature flag definitions from your feature flag provider before you can return them from the Flags API Endpoint.
In case this request fails you can use hints. Any hints returned will show up in the UI.
This is useful when you are fetching your feature flags from multiple sources. In case one request fails you might still want to show the remaining flags on a best effort basis, while also displaying a hint that fetching a specific source failed. You can return definitions and hints simultaneously to do so.
When you create an override, Vercel Toolbar will set a cookie called vercel-flag-overrides. You can read this cookie in your applications to make your application respect the overrides set by Vercel Toolbar.
The overrideEncryptionMode setting controls the value of the cookie:
plaintext: The cookie will contain the overrides as plain JSON. Be careful not to trust those overrides as users can manipulate the value easily.encrypted: Vercel Toolbar will encrypt overrides using theFLAGS_SECRETbefore storing them in the cookie. This prevents manipulation, but requries decrypting them on your end before usage.
We highly recommend using encrypted mode as it protects against manipulation.
Vercel Toolbar uses a MutationObserver to find all script tags with data-flag-values and data-flag-definitions attributes. Any changes to content get detected by the toolbar.
For more information, see the following sections:
Was this helpful?