• Vercel now supports customizing platform error pages

    You can now customize error pages for platform errors on Vercel, replacing generic error pages with your own branded experiences. Custom error pages display when Vercel encounters uncaught errors like function invocation timeouts or other platform errors.

    Link to headingHow it works

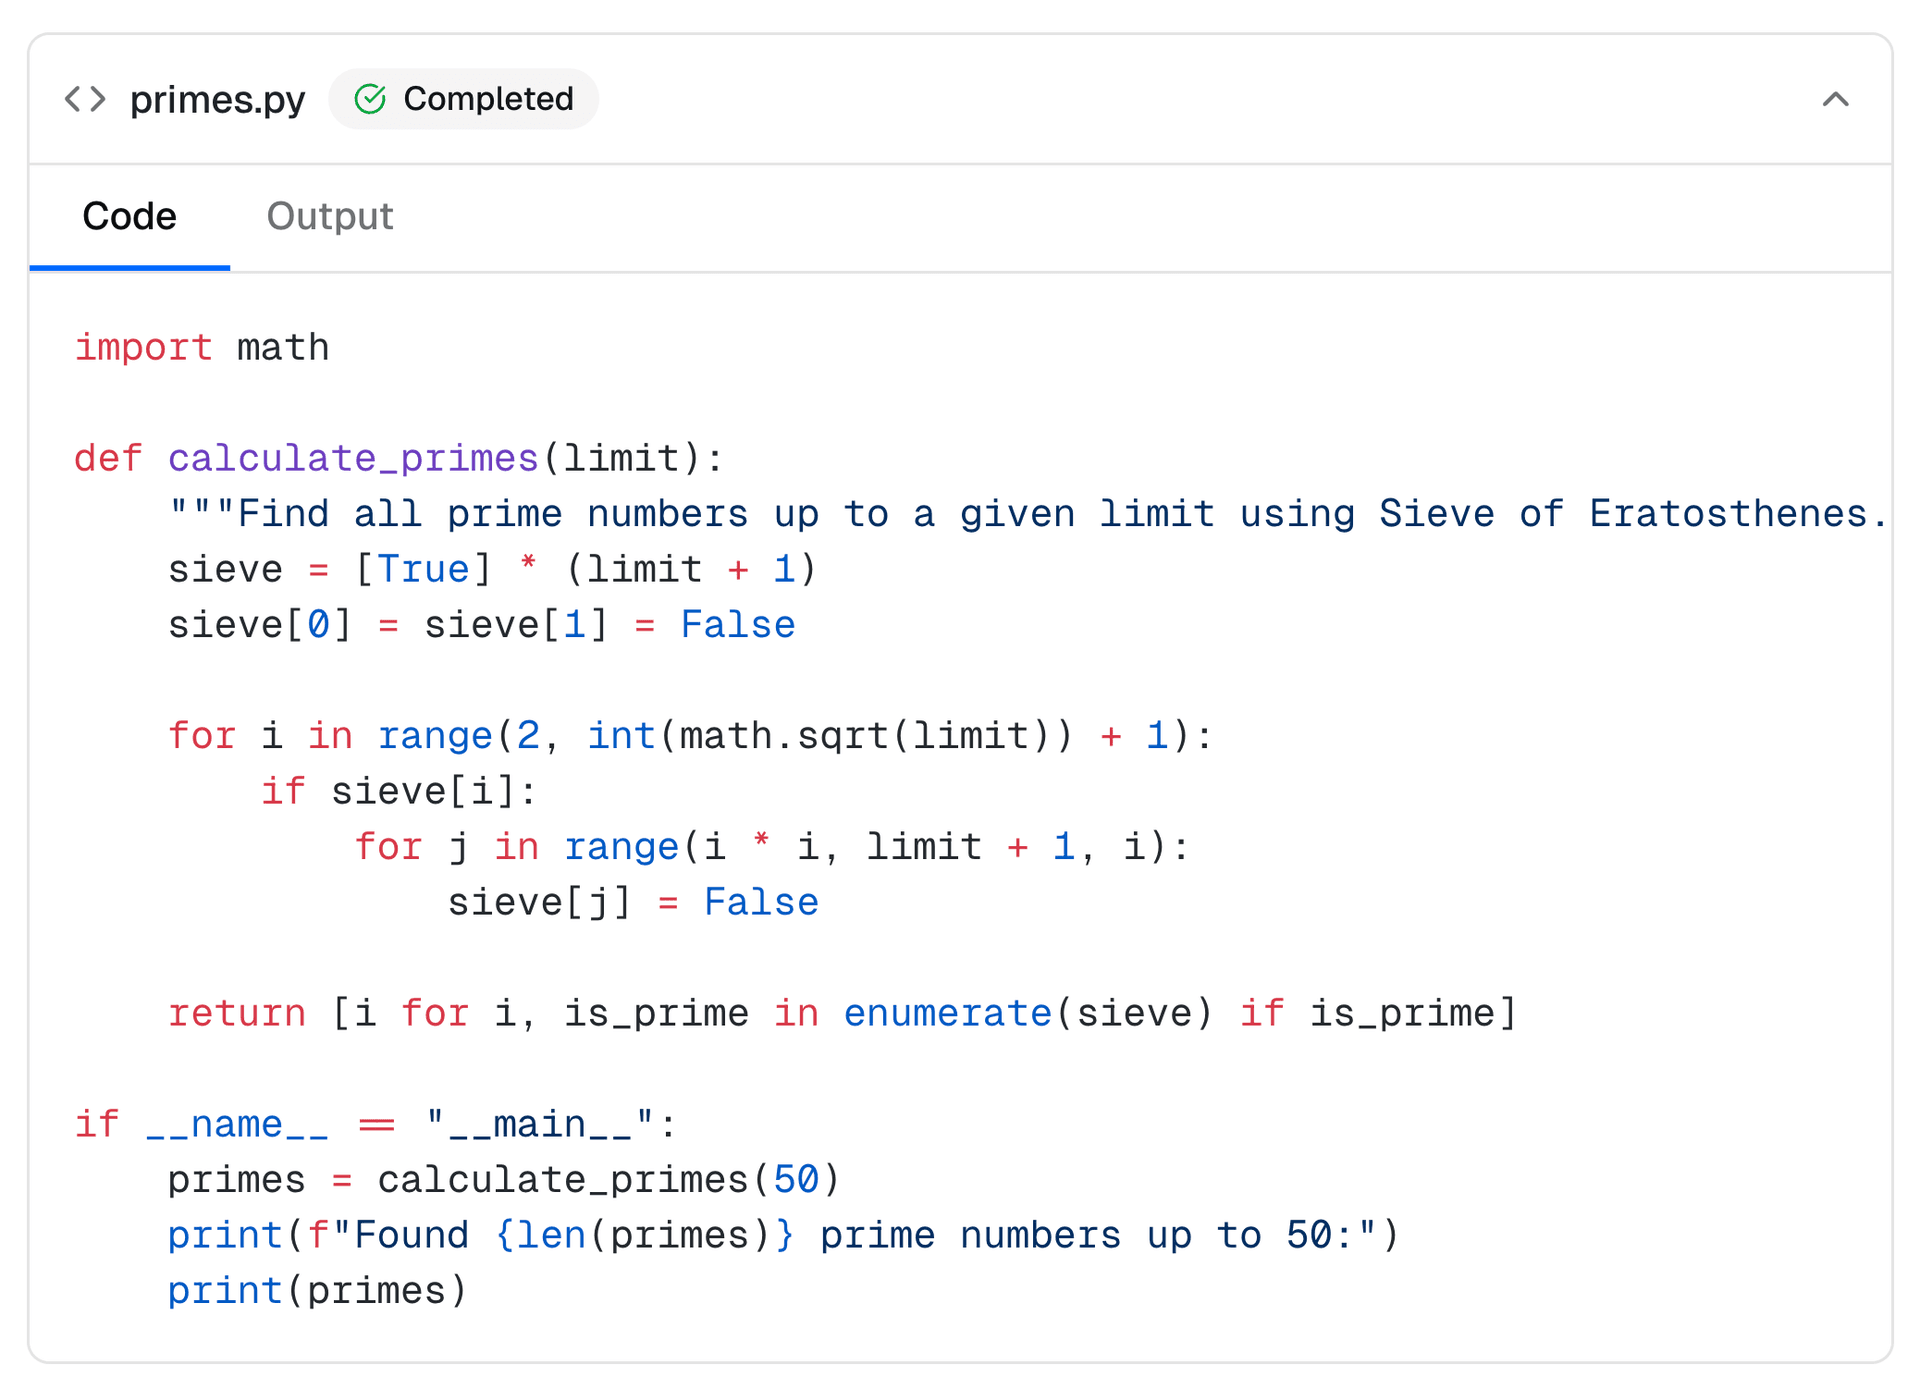
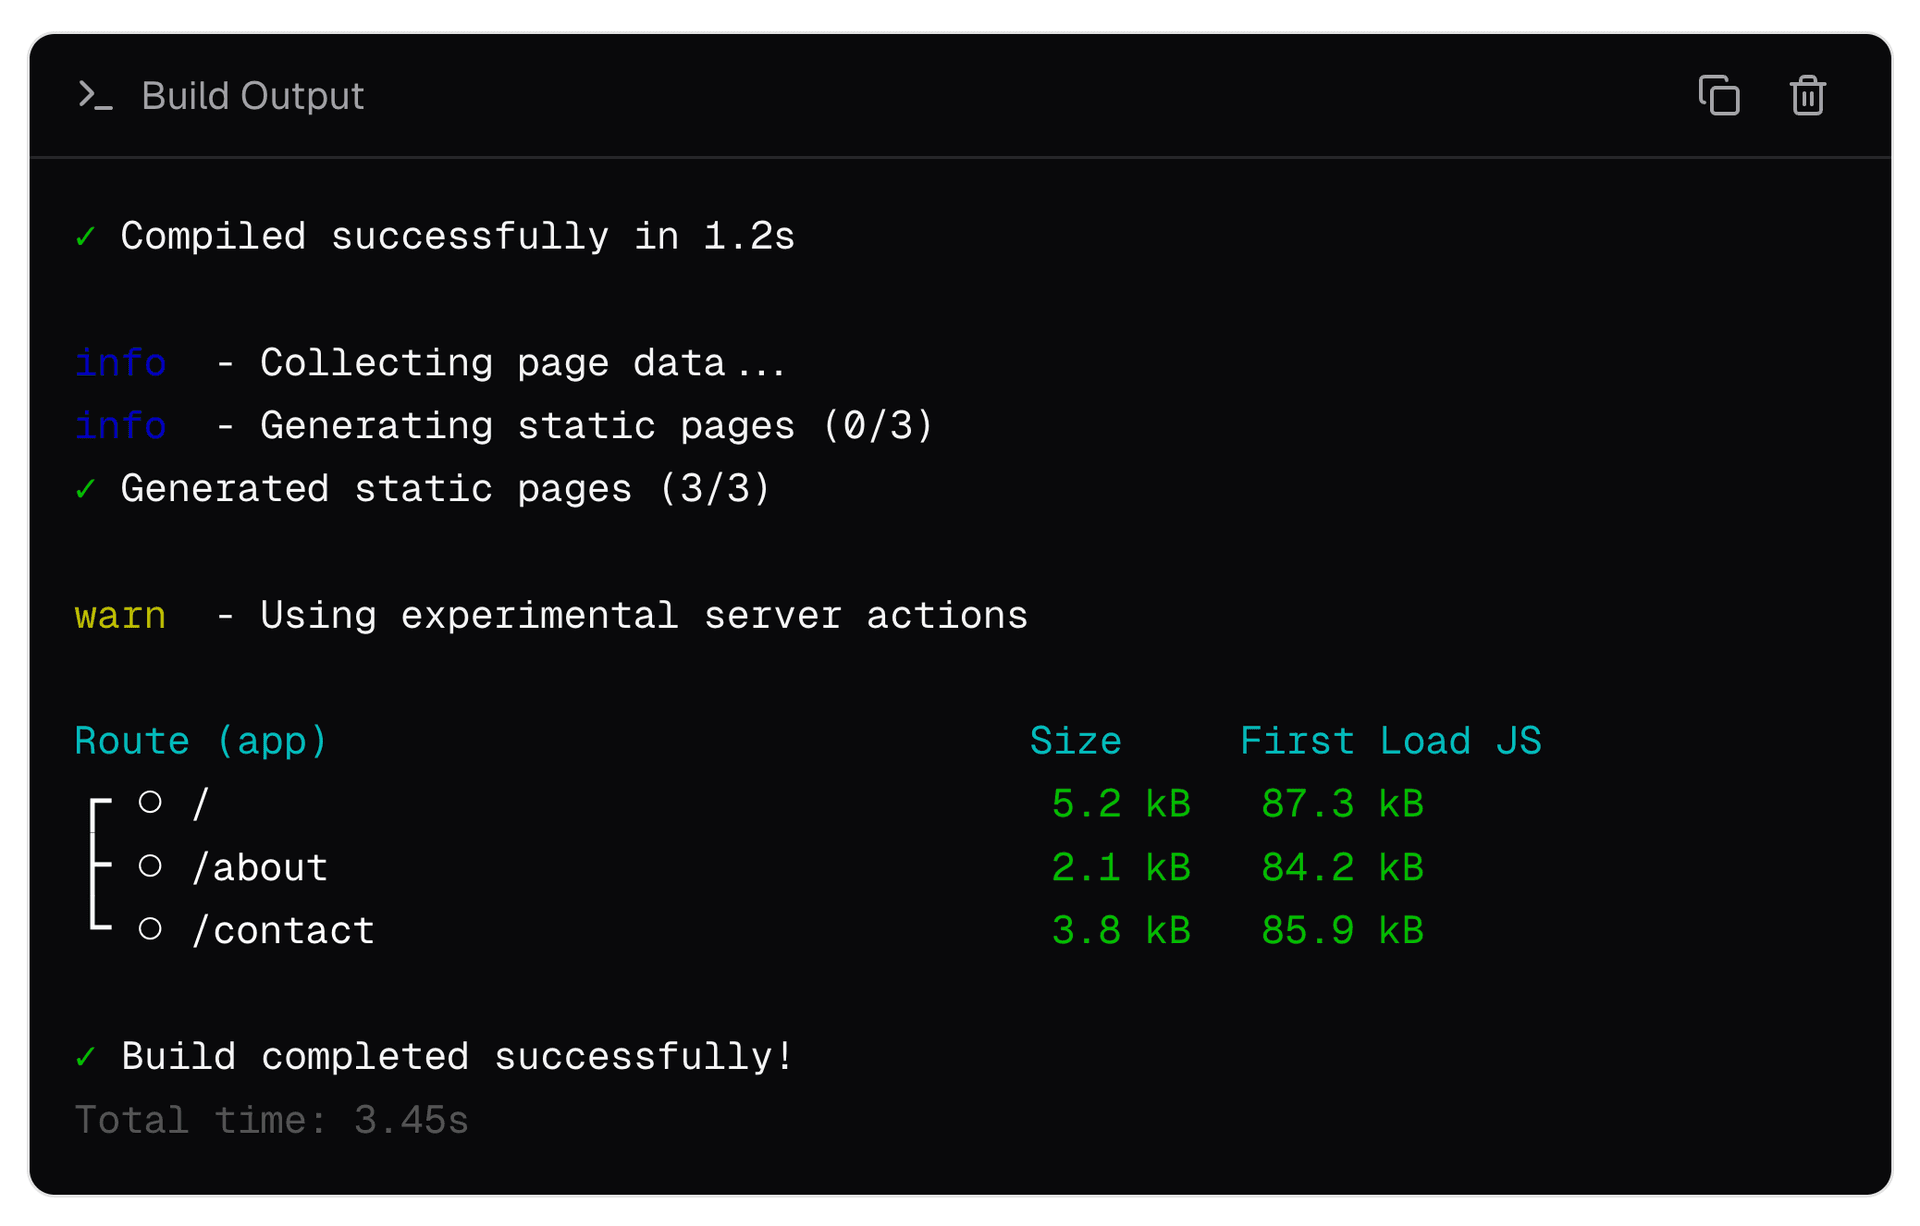
    You can implement custom error pages using your framework’s conventions and Vercel will automatically locate them, for example with Next.js you can simply place a 500/page.tsx or static 500.html page in the public directory.

    To enrich error pages with request-specific context, you can use the following metadata tokens:

    • ::vercel:REQUEST_ID:: - Contains the Vercel request ID

    • ::vercel:ERROR_CODE:: - The specific error code e.g. FUNCTION_INVOCATION_TIMEOUT

    500/page.tsx
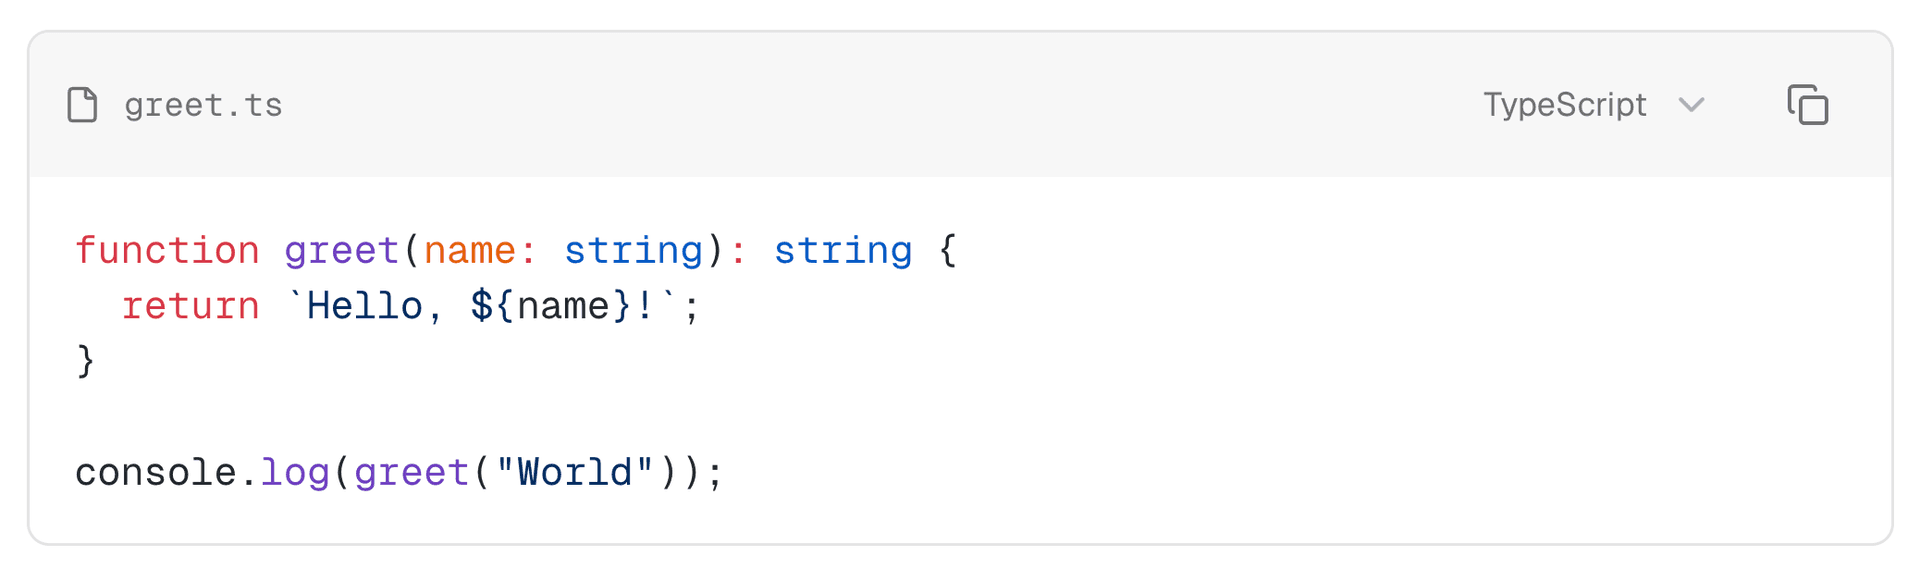
    export default function CustomErrorPage() {
    return (
    <div className="flex min-h-screen flex-col items-center justify-center">
    <h1 className="text-4xl font-bold">500</h1>
    <p className="mt-4 text-lg text-gray-600">Internal Server Error</p>
    <p className="mt-2 text-sm text-gray-500">
    Request ID: ::vercel:REQUEST_ID::
    </p>
    <p className="mt-2 text-sm text-gray-500">
    Code: ::vercel:ERROR_CODE::
    </p>
    <p className="mt-2 text-sm text-gray-500">
    Something went wrong on our end. Please try again later.
    </p>
    <a href="/" className="mt-6 text-blue-600 hover:underline">
    Go back home
    </a>
    </div>
    );
    }

    We strongly recommend including the request ID and error code to aid debugging and support investigations.

    This feature is available for Enterprise teams and enabled automatically across all projects. No additional configuration required.

    See the documentation to get started or reference the following implementations: Custom error pages with App Router or Custom error pages with public directory.

    +2

    Chandan R, Jas G, Sudais M, Priyanka J

  • Configure build machine settings across all projects

    Build and deployment settings can now be configured at the team level and applied across all projects, compared to the previous project-by-project setup.

    Build Machines let you choose the compute resources for each build to optimize build times:

    • Standard build machines with 4 vCPUs and 8 GB of memory

    • Enhanced build machines with 8 vCPUs and 16 GB of memory

    • Turbo build machines with 30 vCPUs and 60 GB of memory

    On-Demand Concurrent Builds control how many builds can run in parallel and whether builds skip the queue.

    You can now apply configurations to all projects at once, or make targeted changes across multiple projects from a single interface.

    Get started with team-level settings.

  • Faster deploys with improved function caching

    Function uploads are now skipped when code hasn't changed, reducing build times by 400-600ms on average and up to 5 seconds for larger builds.

    Previously, deployment-specific environment variables like VERCEL_DEPLOYMENT_ID were included in the function payload, making every deployment unique even with identical code. These variables are now injected at runtime, allowing Vercel to recognize unchanged functions and skip redundant uploads.

    This optimization applies to Vercel Functions without a framework, and projects using Python, Go, Ruby, and Rust. Next.js projects will receive the same improvement soon.

    The optimization is applied automatically to all deployments with no configuration required.

    Learn more about functions and builds in our documentation.

  • New dashboard navigation available

    Dash - DarkDash - Dark

    A redesign of the navigation in the dashboard is now available as an opt-in experience. This new navigation maintains full functionality while streamlining access to your most-used features.

    • New Sidebar — Moved horizontal tabs to a resizable sidebar that can be hidden when not needed

    • Consistent Tabs — Unified sidebar navigation with consistent links across team and project levels

    • Improved Order — Reordered navigation items to prioritize the most common developer workflows

    • Projects as Filters — Switch between team and project versions of the same page in one click

    • Optimized for Mobile — New mobile navigation featuring a floating bottom bar optimized for one-handed use

    Try the new navigation today before it rolls out to all users.

  • Filesystem snapshots supported on Vercel Sandboxes

    Vercel Sandbox now supports filesystem snapshots to capture your state. You can capture a Sandbox's complete filesystem state as a snapshot and launch new Sandboxes from that snapshot using the Sandbox API.

    This eliminates repeated setup when working with expensive operations like dependency installation, builds, or fixture creation. Create the environment once, snapshot it, then reuse that exact filesystem state across multiple isolated runs.

    Link to headingHow snapshots work

    Snapshots capture the entire filesystem of a running Sandbox. New Sandboxes can launch from that snapshot, providing immediate access to pre-installed dependencies and configured environments.

    Link to headingKey capabilities

    • Create a snapshot from any running Sandbox with sandbox.snapshot()

    • Launch new Sandboxes from snapshots via source: { type: 'snapshot', snapshotId }

    • Reuse the same snapshot with multiple Sandboxes for parallel testing and experimentation

    import { Sandbox } from '@vercel/sandbox';
    const sandbox = await Sandbox.create();
    await sandbox.writeFiles([{
    path: '/vercel/sandbox/hello',
    content: Buffer.from('Hello Vercel Sandbox and Snapshots'),
    }]);
    const snapshot = await sandbox.snapshot();
    const newSandbox = await Sandbox.create({
    source: { type: 'snapshot', snapshotId: snapshot.snapshotId },
    });
    for await (const chunk of await newSandbox.readFile({ path: '/vercel/sandbox/hello' })) {
    process.stdout.write(chunk);
    };

    See the documentation to get started with snapshots.

    +3

    Guðmundur B, Laurens D, Tom L, Andy W, Tiago V

  • AI Code Elements

    Today we're releasing a brand new set of components designed to help you build the next generation of IDEs, coding apps and background agents.

    Link to heading<Agent />

    A composable component for displaying an AI SDK ToolLoopAgent configuration with model, instructions, tools, and output schema.

    npx ai-elements add agent

    Link to heading<CodeBlock />

    Building on what we've learned from Streamdown, we massively improved the code block component with support for a header, icon, filename, multiple languages and a more performant renderer.

    npx ai-elements add code-block

    Link to heading<Commit />

    The Commit component displays commit details including hash, message, author, timestamp, and changed files.

    npx ai-elements add commit

    Link to heading<EnvironmentVariables />

    The EnvironmentVariables component displays environment variables with value masking, visibility toggle, and copy functionality.

    npx ai-elements add environment-variables

    Link to heading<FileTree />

    The FileTree component displays a hierarchical file system structure with expandable folders and file selection.

    npx ai-elements add file-tree

    Link to heading<PackageInfo />

    The PackageInfo component displays package dependency information including version changes and change type badges.

    npx ai-elements add package-info

    Link to heading<Sandbox />

    The Sandbox component provides a structured way to display AI-generated code alongside its execution output in chat conversations. It features a collapsible container with status indicators and tabbed navigation between code and output views.

    npx ai-elements add sandbox

    Link to heading<SchemaDisplay />

    The SchemaDisplay component visualizes REST API endpoints with HTTP methods, paths, parameters, and request/response schemas.

    npx ai-elements add schema-display

    Link to heading<Snippet />

    The Snippet component provides a lightweight way to display terminal commands and short code snippets with copy functionality. Built on top of shadcn/ui InputGroup, it's designed for brief code references in text.

    npx ai-elements add snippet

    Link to heading<StackTrace />

    The StackTrace component displays formatted JavaScript/Node.js error stack traces with clickable file paths, internal frame dimming, and collapsible content.

    npx ai-elements add stack-trace

    Link to heading<Terminal />

    The Terminal component displays console output with ANSI color support, streaming indicators, and auto-scroll functionality.

    npx ai-elements add terminal

    Link to heading<TestResults />

    The TestResults component displays test suite results (like Vitest) including summary statistics, progress, individual tests, and error details.

    npx ai-elements add test-results

    Link to headingBonus: <Attachments />

    Not code related, but since attachment were being used in Message, PromptInput and more, we broke it out into its own component - a flexible, composable attachment component for displaying files, images, videos, audio, and source documents.

    npx ai-elements add attachments

  • Use skills in your AI SDK agents via bash-tool

    Skills support is now available in bash-tool, so your AI SDK agents can use the skills pattern with filesystem context, Bash execution, and sandboxed runtime access.

    This gives your agent a consistent way to pull in the right context for a task, using the same isolated execution model that powers filesystem-based context retrieval.

    This allows giving your agent access to the wide variety of publicly available skills, or for you to write your own proprietary skills and privately use them in your agent.

    import {
    experimental_createSkillTool as createSkillTool,
    createBashTool,
    } from "bash-tool";
    import { ToolLoopAgent } from "ai";
    // Discover skills and get files to upload
    const { skill, files, instructions } = await createSkillTool({
    skillsDirectory: "./skills",
    });
    // Create bash tool with skill files
    const { tools } = await createBashTool({
    files,
    extraInstructions: instructions,
    });
    // Use both tools with an agent
    const agent = new ToolLoopAgent({
    model,
    tools: { skill, ...tools },
    });

    Example of using skills with bash-tool in an AI SDK ToolLoopAgent

    Read the bash-tool changelog for background and check out createSkillTool documentation.