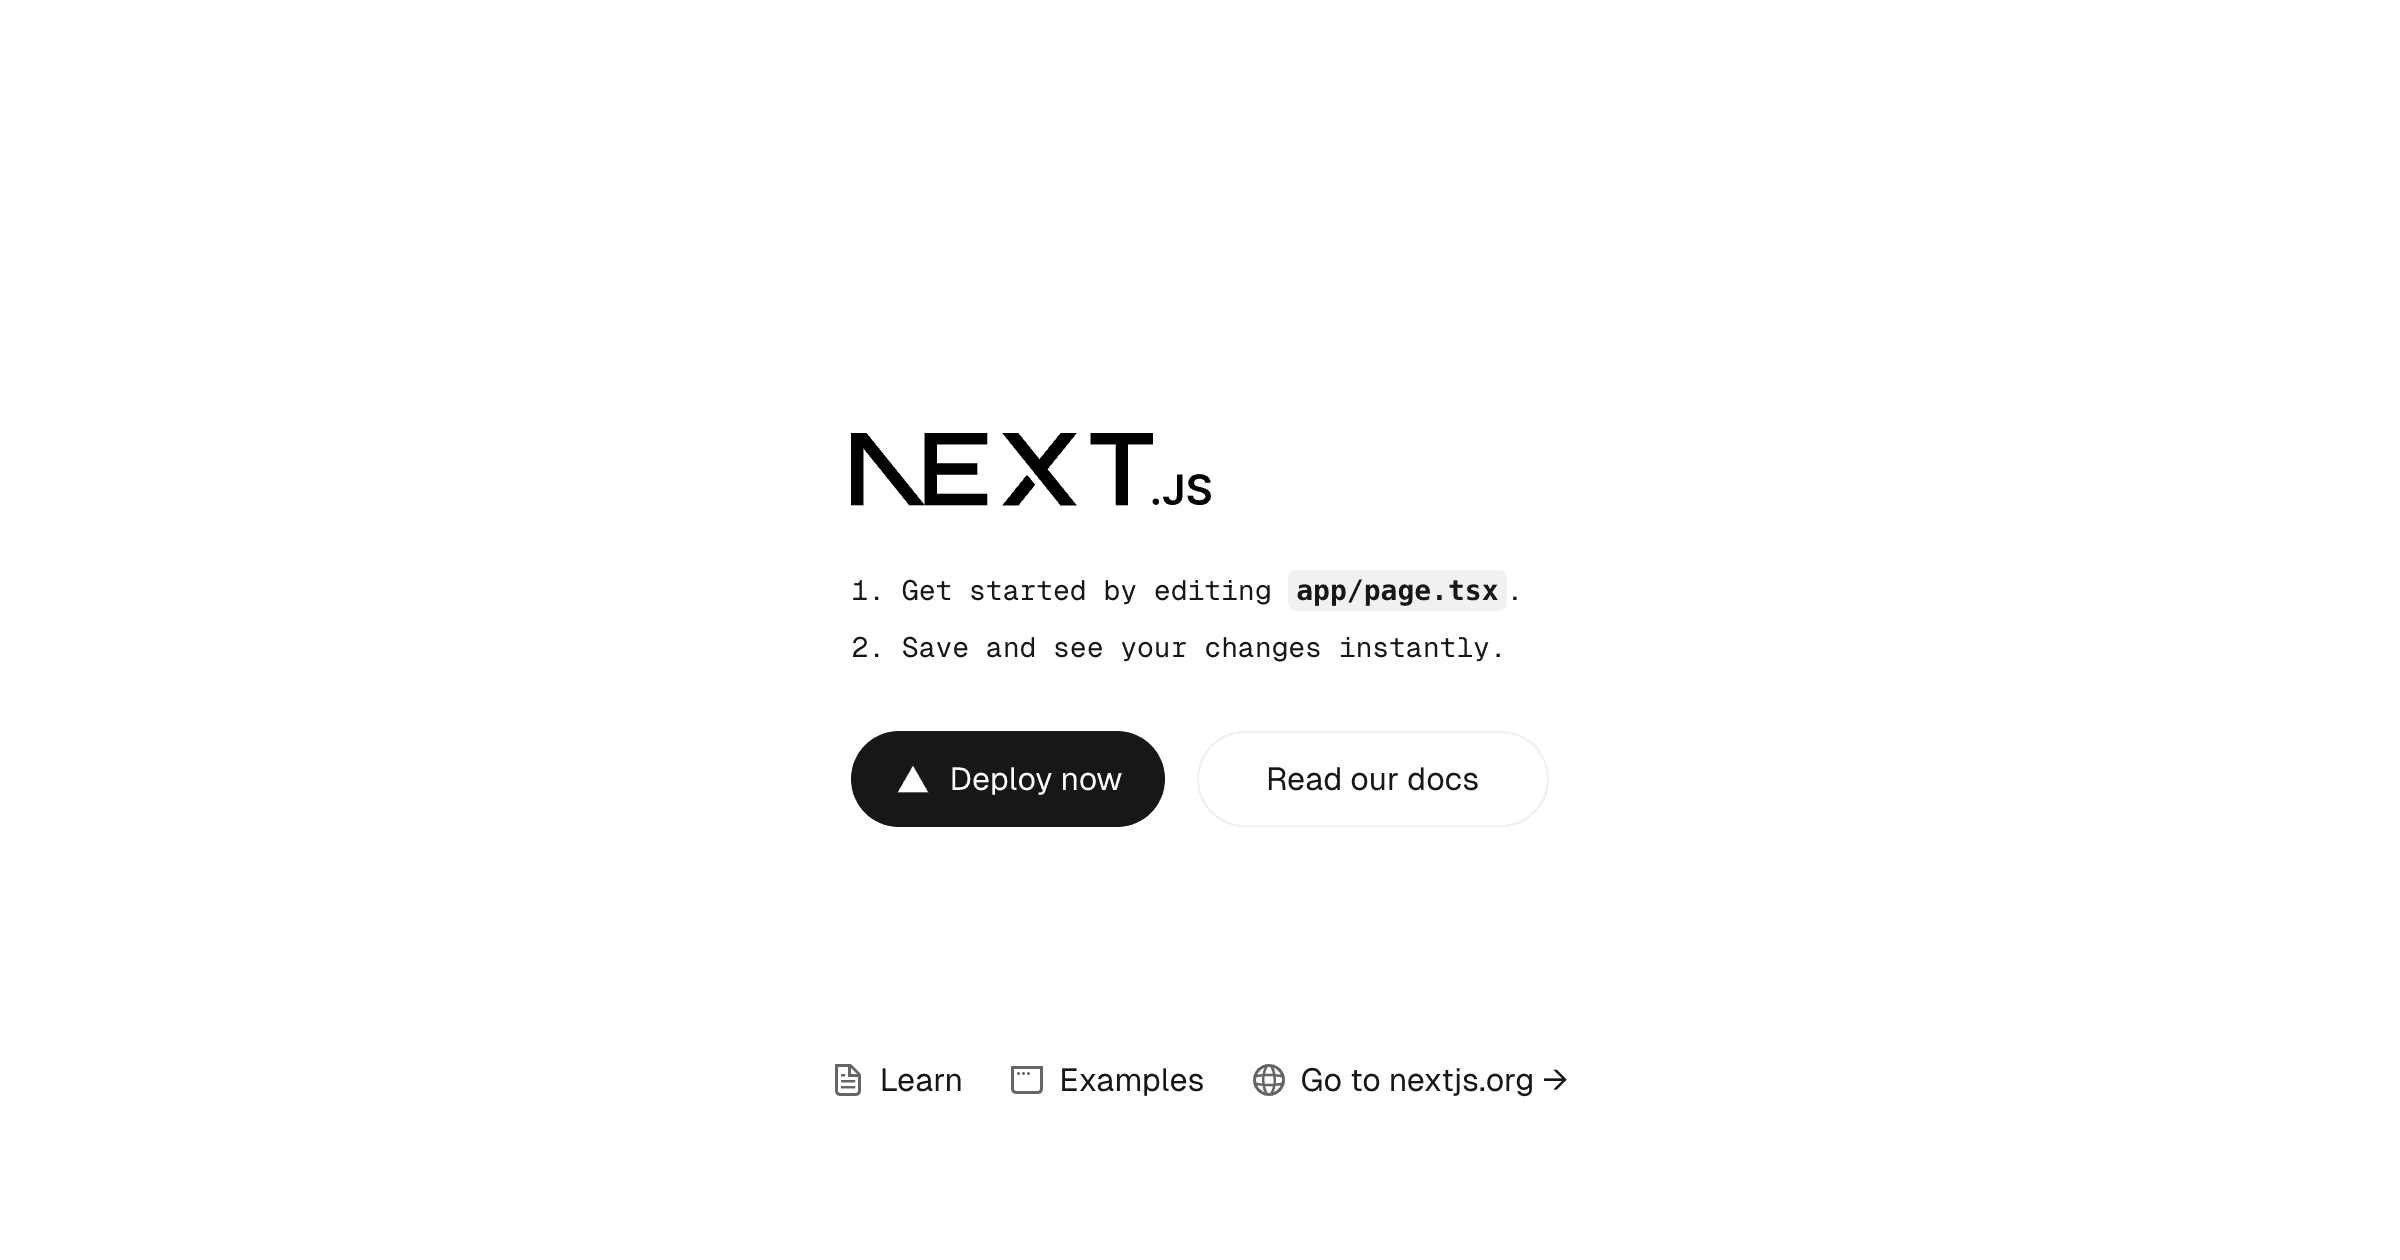
Gel on Next.js
Starter template for Gel and Next.js. It includes a basic Gel schema and a UI to get you started.

🎉 Gel + Next.js template
This starter is designed to help you get up and running with Gel and Next.js quickly. It includes a basic Gel schema and a UI to get you started. Below you can find the steps to set up the project and start building your app as well as some ideas for extending it further.
This template includes:
- Next.js for React framework
- Gel for database
- Tailwind CSS for utility-first CSS framework
- ESLint for linting
🧐 What's inside?
Directory structure:
app/- Next.js pages and componentspublic/- static assetscomponents/- React componentssrc/- utility functionsdbschema/- Gel schema and migrationsgel.toml- Gel configurationgel.ts- Gel clienteslint.config.js- ESLint configurationnext-env.d.ts- Next.js typesnext.config.js- Next.js configurationpackage.json- npm dependenciespnpm-lock.yaml- pnpm lockfilepostcss.config.js- PostCSS configurationtailwind.config.ts- Tailwind CSS configurationtsconfig.json- TypeScript configuration
🚀 Quick start
To get started with this template, you need to:
1. Clone the repository & install dependencies
You can also click the "Use this template" button to create a new repository based on this template.
2. Install Gel CLI (optional)
You can just use npx gel, it would do the right thing
to automatically install and run Gel CLI for you.
This README will use npx gel <command> style, but if you have
the CLI installed you can use it directly, like this: gel <command>.
For more installation options, see the Gel installation guide.
3. Initialize Gel project
To run this project, you need to initialize a new Gel project. Run the following command:
4. Generate types
This template includes a script to generate TypeScript types from the Gel schema. Run the following command:
5. Start the development server
Follow the instructions in the terminal to open the app in your browser.
6. Open the Gel UI
To view the database in the Gel UI run:
✨ Next steps
Extend the Gel schema
Open the dbschema/default.gel file and add your own types and
fields. You can start by adding a Post type with a
title and content field. For example:
Edit the Gel query
Open the app/page.tsx file and update the query
to include your new type.
👩🏫 Learn More
Explore a list of resources to help you get started with Gel and Next.js:
- Generative UI with Vercel AI SDK and Gel
- Stop building auth, start building apps with Gel and Next.js
- Building a simple blog application with Gel and Next.js
- Integrating Gel with tRPC
- The ultimate TypeScript query builder
To learn more about Next.js, take a look at the following resources:
- Next.js Documentation - learn about Next.js features and API.
- Learn Next.js - an interactive Next.js tutorial.
You can also check out the Gel documentation to learn more about Gel and Gel Auth.
☁️ Deployment
Follow the deployment instructions in the Gel documentation to deploy your Next.js app to Gel Cloud and Vercel.
Or

Gel on Next.js
Starter template for Gel and Next.js. It includes a basic Gel schema and a UI to get you started.
🎉 Gel + Next.js template
This starter is designed to help you get up and running with Gel and Next.js quickly. It includes a basic Gel schema and a UI to get you started. Below you can find the steps to set up the project and start building your app as well as some ideas for extending it further.
This template includes:
- Next.js for React framework
- Gel for database
- Tailwind CSS for utility-first CSS framework
- ESLint for linting
🧐 What's inside?
Directory structure:
app/- Next.js pages and componentspublic/- static assetscomponents/- React componentssrc/- utility functionsdbschema/- Gel schema and migrationsgel.toml- Gel configurationgel.ts- Gel clienteslint.config.js- ESLint configurationnext-env.d.ts- Next.js typesnext.config.js- Next.js configurationpackage.json- npm dependenciespnpm-lock.yaml- pnpm lockfilepostcss.config.js- PostCSS configurationtailwind.config.ts- Tailwind CSS configurationtsconfig.json- TypeScript configuration
🚀 Quick start
To get started with this template, you need to:
1. Clone the repository & install dependencies
You can also click the "Use this template" button to create a new repository based on this template.
2. Install Gel CLI (optional)
You can just use npx gel, it would do the right thing
to automatically install and run Gel CLI for you.
This README will use npx gel <command> style, but if you have
the CLI installed you can use it directly, like this: gel <command>.
For more installation options, see the Gel installation guide.
3. Initialize Gel project
To run this project, you need to initialize a new Gel project. Run the following command:
4. Generate types
This template includes a script to generate TypeScript types from the Gel schema. Run the following command:
5. Start the development server
Follow the instructions in the terminal to open the app in your browser.
6. Open the Gel UI
To view the database in the Gel UI run:
✨ Next steps
Extend the Gel schema
Open the dbschema/default.gel file and add your own types and
fields. You can start by adding a Post type with a
title and content field. For example:
Edit the Gel query
Open the app/page.tsx file and update the query
to include your new type.
👩🏫 Learn More
Explore a list of resources to help you get started with Gel and Next.js:
- Generative UI with Vercel AI SDK and Gel
- Stop building auth, start building apps with Gel and Next.js
- Building a simple blog application with Gel and Next.js
- Integrating Gel with tRPC
- The ultimate TypeScript query builder
To learn more about Next.js, take a look at the following resources:
- Next.js Documentation - learn about Next.js features and API.
- Learn Next.js - an interactive Next.js tutorial.
You can also check out the Gel documentation to learn more about Gel and Gel Auth.
☁️ Deployment
Follow the deployment instructions in the Gel documentation to deploy your Next.js app to Gel Cloud and Vercel.
Or


